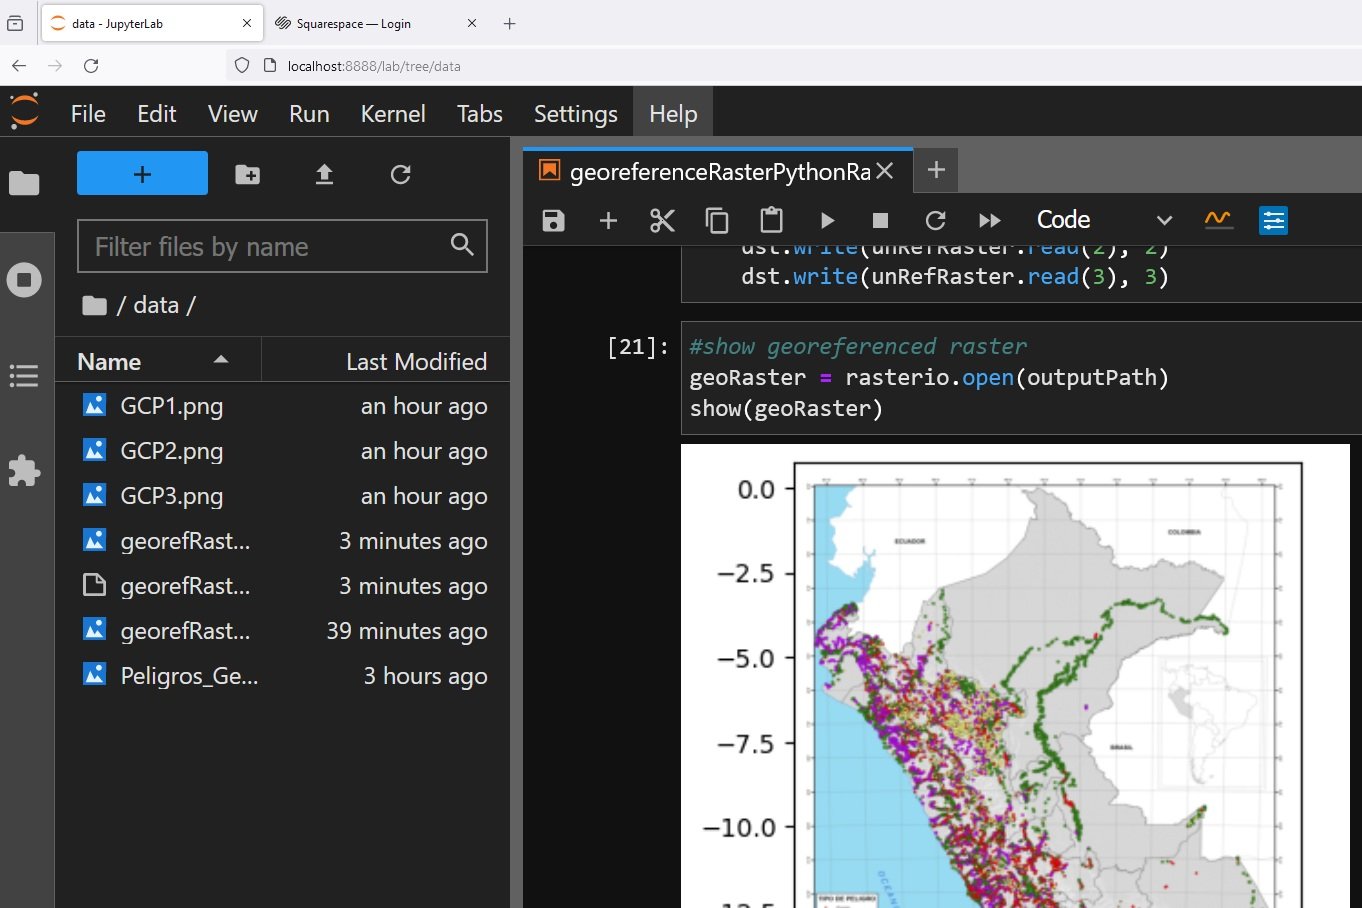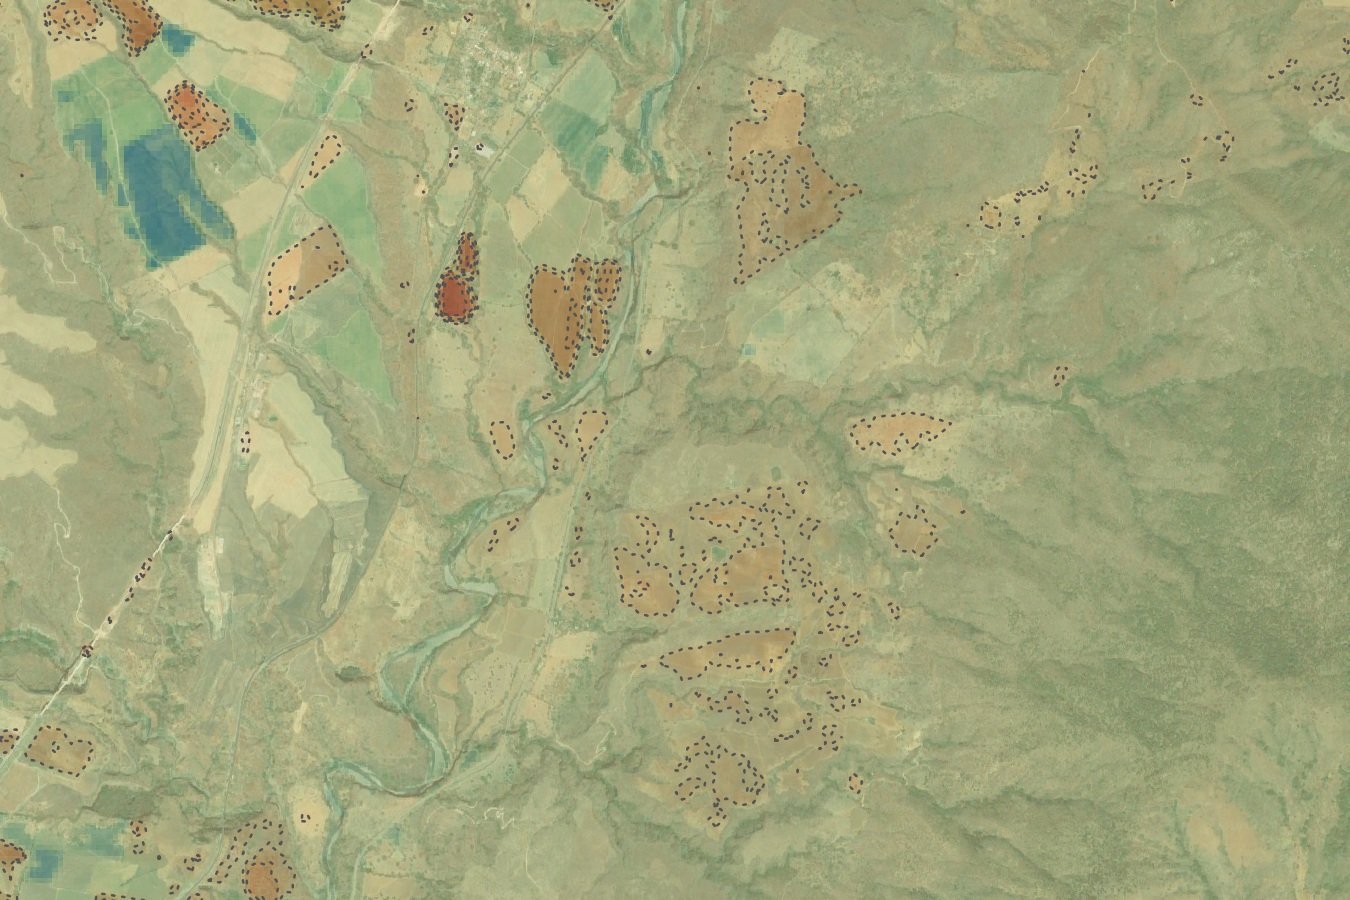
La reproyección de rásters es una tarea común en el trabajo con GIS, sin embargo, hacerlo solo con comandos de Python presenta algunos desafíos. Hemos realizado un ejemplo aplicado de reproyección para rásteres únicos y múltiples desde WGS 84 UTM a WGS 84 geográficas. Los códigos funcionan en rásteres monobanda y multibanda y pueden reproyectar desde y hasta cualquier proyección especificando su código EPSG.
El tutorial se realiza en un conda enviroment que tiene las bibliotecas geoespaciales instaladas. Puede configurar el entorno siguiendo este tutorial:
Tutorial
Código
Este el código para reprojectar un raster:
import rasterio
from rasterio.warp import calculate_default_transform, reproject, Resampling
#open source raster
srcRst = rasterio.open('../singleRaster/landsatImage.tif')print("source raster crs:")
print(srcRst.crs)
dstCrs = {'init': 'EPSG:4326'}
print("destination raster crs:")
print(dstCrs)source raster crs:
EPSG:32614
destination raster crs:
{'init': 'EPSG:4326'}#calculate transform array and shape of reprojected raster
transform, width, height = calculate_default_transform(
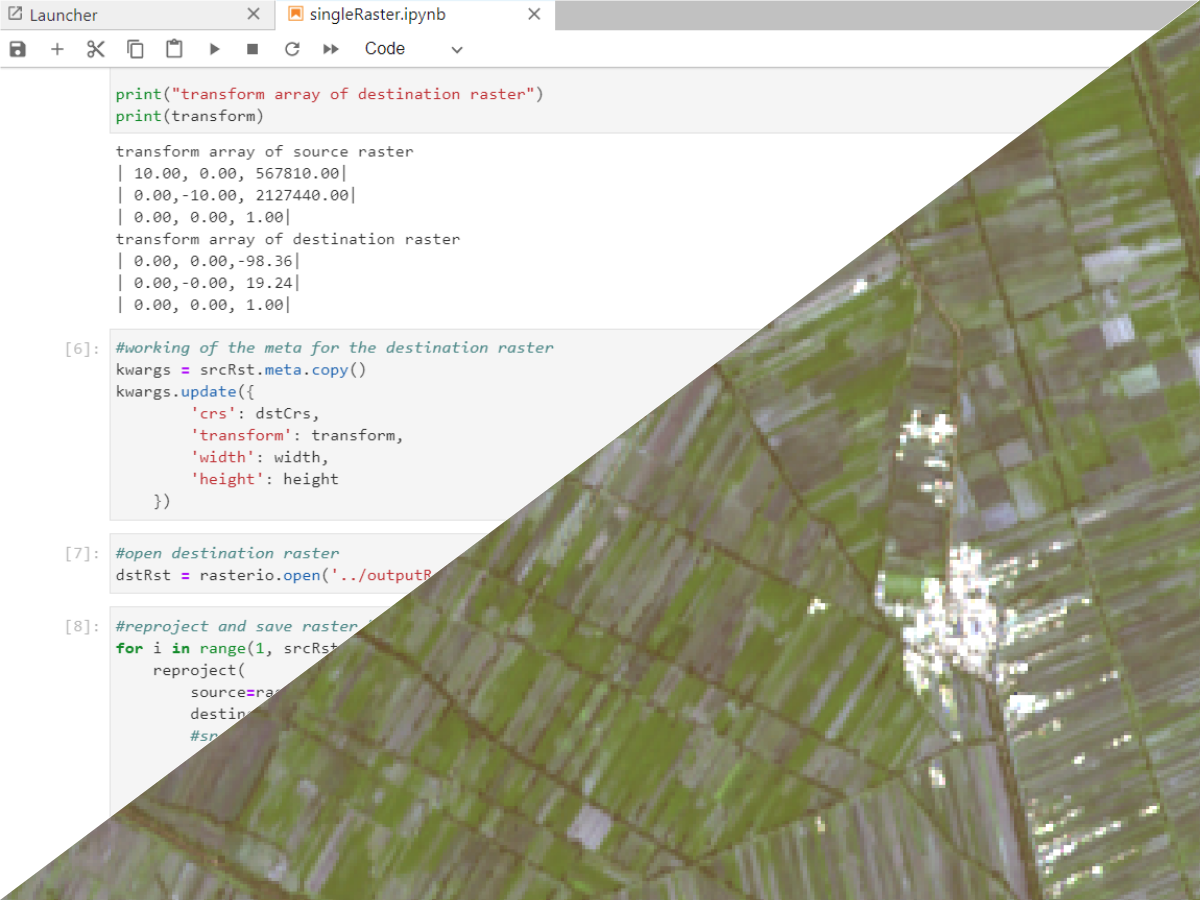
srcRst.crs, dstCrs, srcRst.width, srcRst.height, *srcRst.bounds)print("transform array of source raster")
print(srcRst.transform)
print("transform array of destination raster")
print(transform)transform array of source raster
| 10.00, 0.00, 567810.00|
| 0.00,-10.00, 2127440.00|
| 0.00, 0.00, 1.00|
transform array of destination raster
| 0.00, 0.00,-98.36|
| 0.00,-0.00, 19.24|
| 0.00, 0.00, 1.00|#working of the meta for the destination raster
kwargs = srcRst.meta.copy()
kwargs.update({
'crs': dstCrs,
'transform': transform,
'width': width,
'height': height
})#open destination raster
dstRst = rasterio.open('../outputRaster/landsatImageWgs84.tif', 'w', **kwargs)#reproject and save raster band data
for i in range(1, srcRst.count + 1):
reproject(
source=rasterio.band(srcRst, i),
destination=rasterio.band(dstRst, i),
#src_transform=srcRst.transform,
src_crs=srcRst.crs,
#dst_transform=transform,
dst_crs=dstCrs,
resampling=Resampling.nearest)#close destination raster
dstRst.close()Datos de entrada
Puede descargar los datos de entrada desde este enlace.