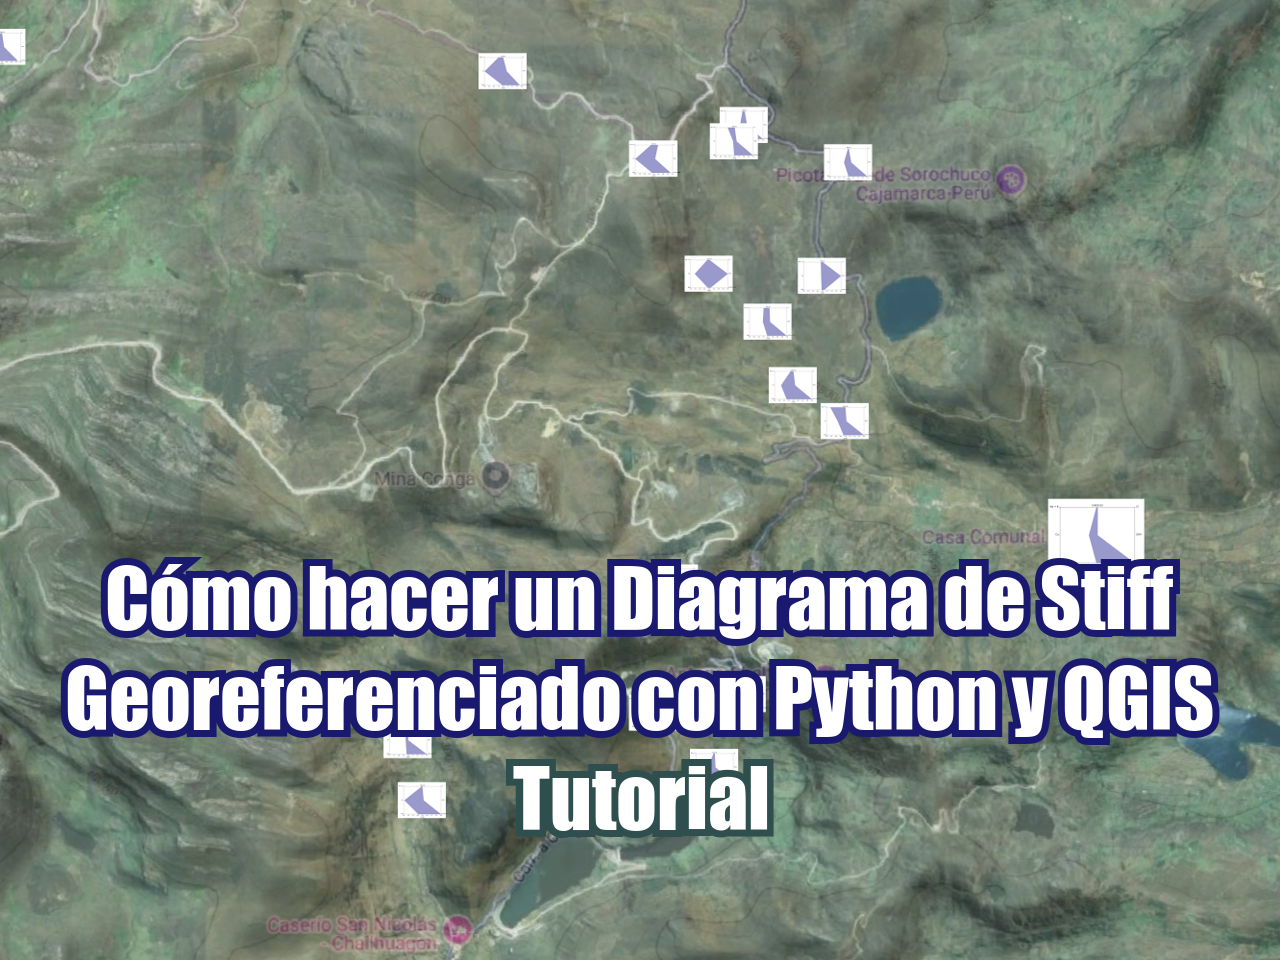
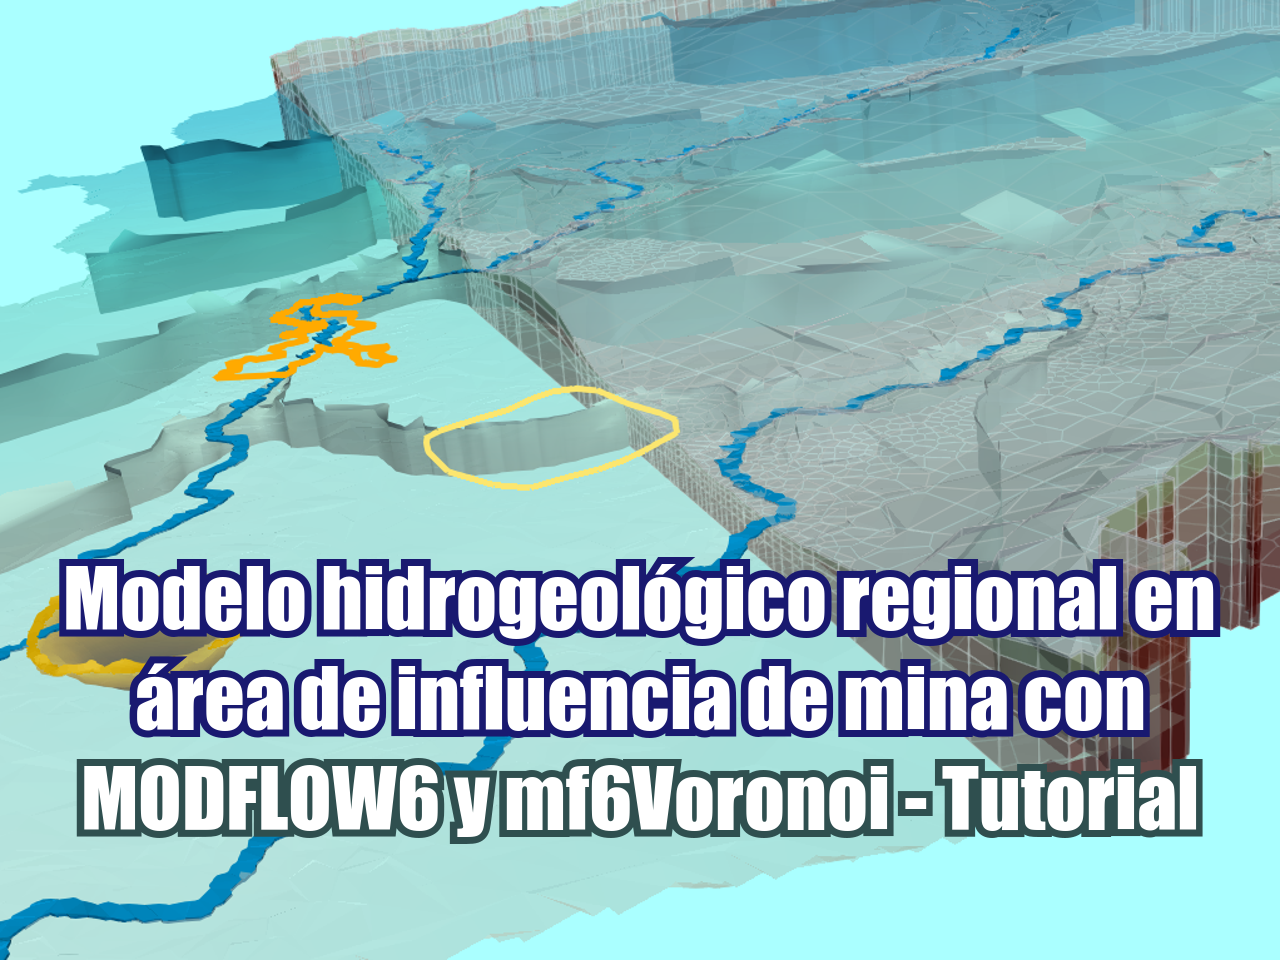
La representación de la dirección del flujo subterráneo es útil para comprender las condiciones actuales y previstas del régimen de flujo del agua subterránea. La dirección y magnitud de las flechas proporcionan una perspectiva rápida de las principales direcciones de flujo subterráneo y de la interconexión entre las fuentes y los puntos de descarga.
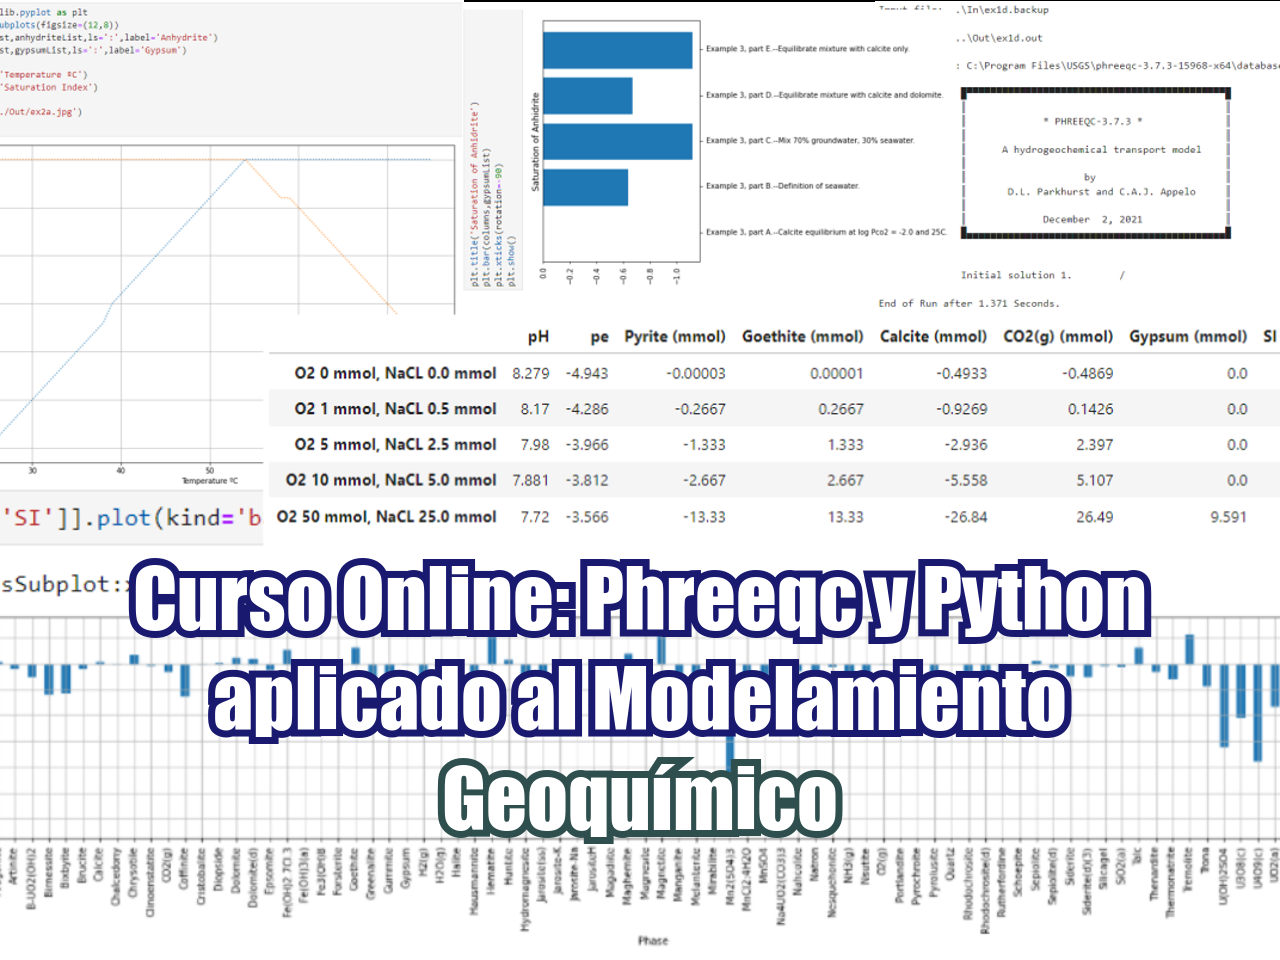
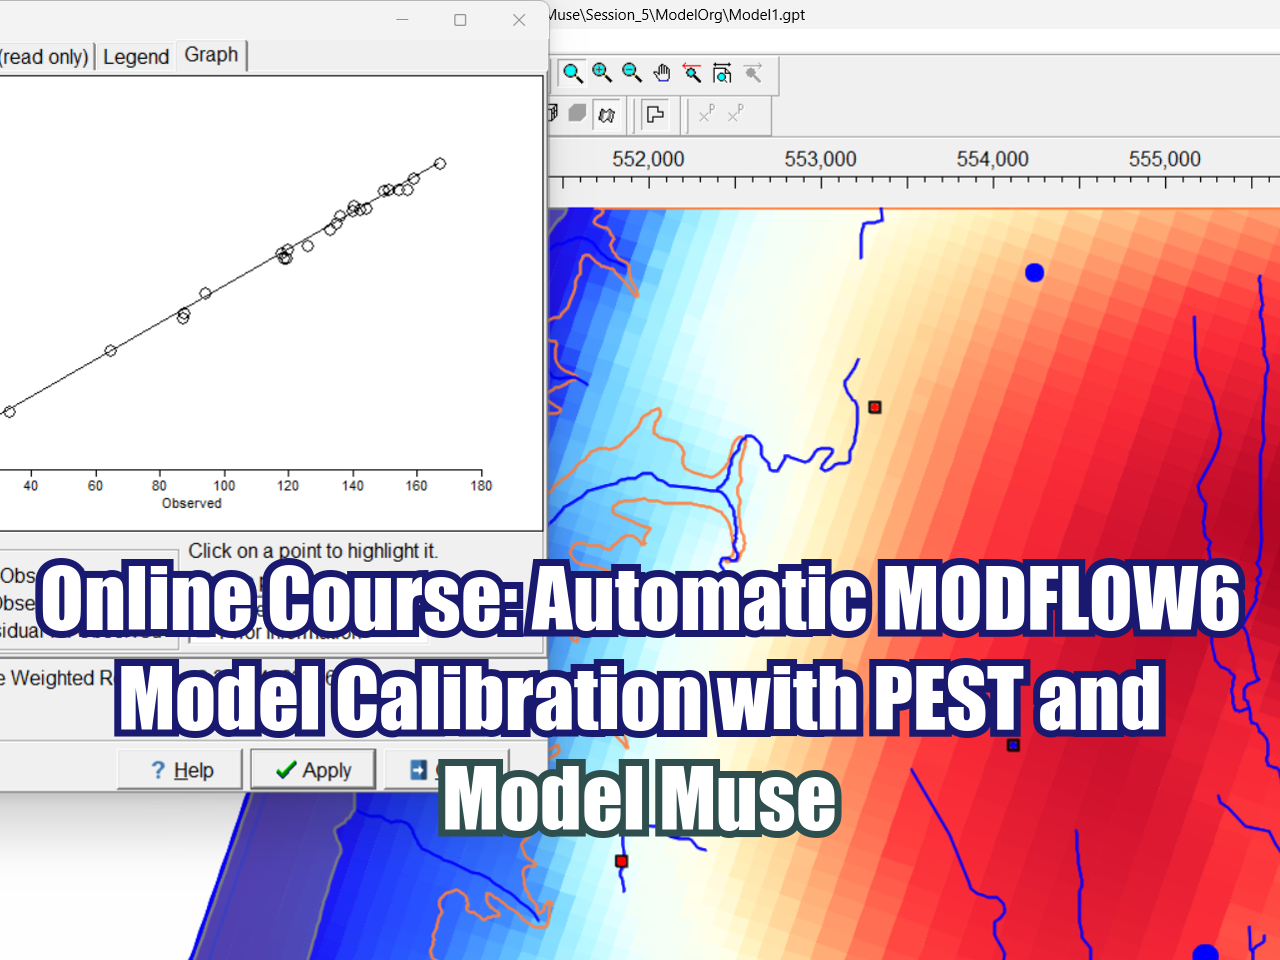
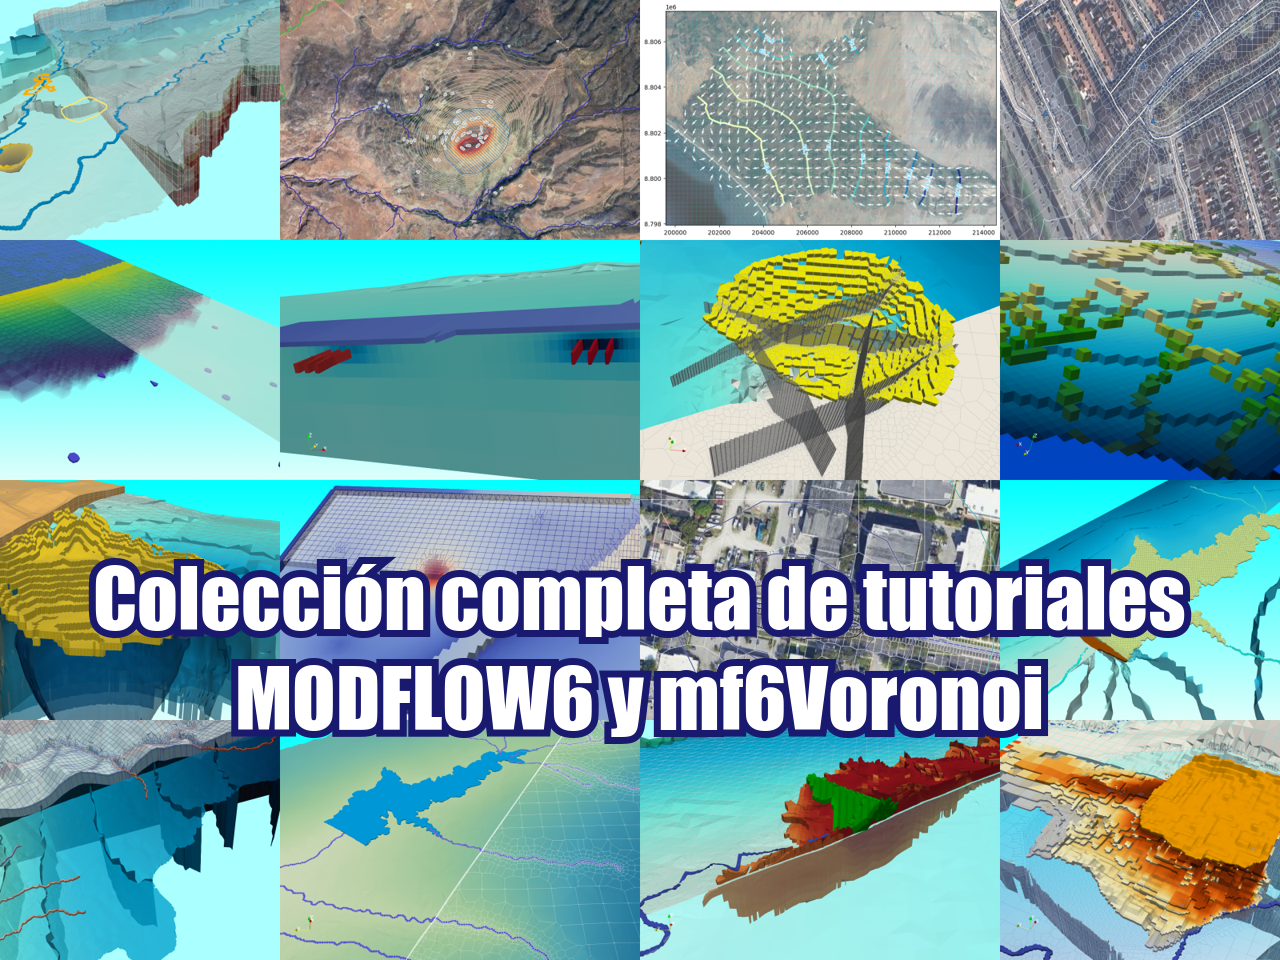
Este tutorial muestra el flujo de trabajo completo para determinar las direcciones de flujo a partir de un modelo MODFLOW realizado con Model Muse, utilizando la herramienta Mf6Voronoi FlowVectorGenerator, que representa los vectores de dirección de flujo en una figura de Matplotlib. La función no solo funciona con modelos Dis de Modflow6 normales, como los generados por Model Muse, sino también con modelos Disv de Modflow6 basados en Voronoi. Existe la posibilidad de insertar imágenes de fondo y otras funcionalidades; sin embargo, las opciones de estilo están limitadas para preservar el estilo artístico de la gráfica.
Parameters
    ----------
    bakgroundImageDisct : dict
        Dictionary with the shape of  pointing to the paths of the image and world file.
    kstpkper :  tuple of ints
        A tuple containing the time step and stress period. Only the last time step of the stress period is plotted.
    plotGrid : bool
        Option to represent heads grid for a given layer on a grid.
    plotContour : bool
        Option to represent head contours for a given layer.
    contourLevels : int
        Number of contours for the plotContour representation.
    layer : integer
        MODFLOW zero-based layer number for the head and contour representation.
    istep : integer
        Row frequency to plot (default is 4).
    jstep : integer
        Row frequency to plot (default is 4).
    scale: float
        Scales the length of the arrow inversely.
    normalize : bool
        Boolean flag used to determine if vectors should be normalized.
Tutorial
Codigo
from mf6Voronoi.tools.graphs2d import FlowVectorGenerator
import flopy
C:\Users\saulm\anaconda3\Lib\site-packages\pyvista\examples\downloads.py:98: UserWarning: Unable to access C:\Users\saulm\AppData\Local\pyvista_3\pyvista_3\Cache. Manually specify the PyVistaexamples cache with the PYVISTA_USERDATA_PATH environment variable.
warnings.warn(#load simulation
simName = 'mf6Sim' ## Org
modelWs = '../Model' ## Org
sim = flopy.mf6.MFSimulation.load(sim_name=simName, version='mf6', ## Org
exe_name='bin/mf6.exe', ## Org
sim_ws=modelWs) ## Orgloading simulation...
loading simulation name file...
loading tdis package...
loading model gwf6...
loading package dis...
loading package ic...
loading package npf...
loading package oc...
loading package ghb...
loading package wel...
loading package riv...
loading package rch...
loading package evt...
loading solution package modflow...#get model name
sim.model_names['modflow']#select the model
gwf = sim.get_model('modflow')#representation with head grid
fig = FlowVectorGenerator(gwf, layer=0, plotGrid=True, scale=20)
#representation with contour grid
fig = FlowVectorGenerator(gwf, layer=0, plotGrid=False, scale=20)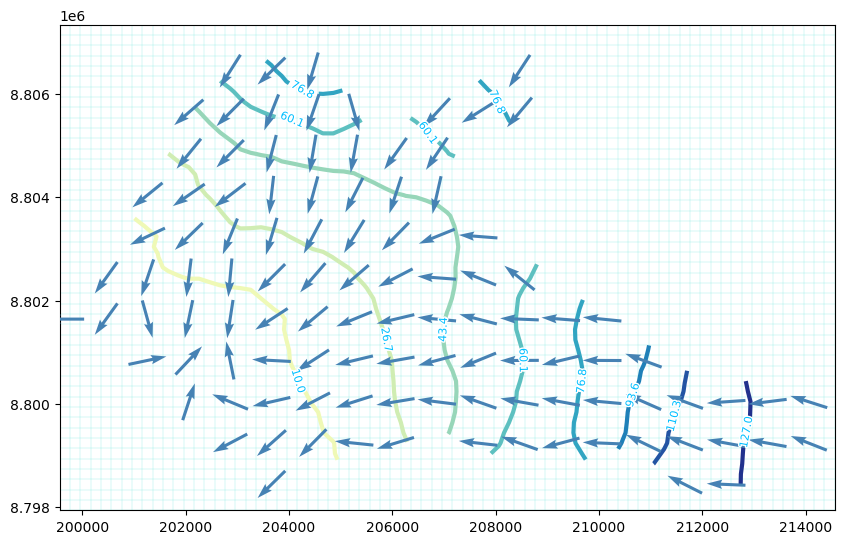
#representation with contour grid with dense arrow
fig = FlowVectorGenerator(gwf, layer=0, plotGrid=False,
                          istep=2,
                          jstep=2,
                          scale=50)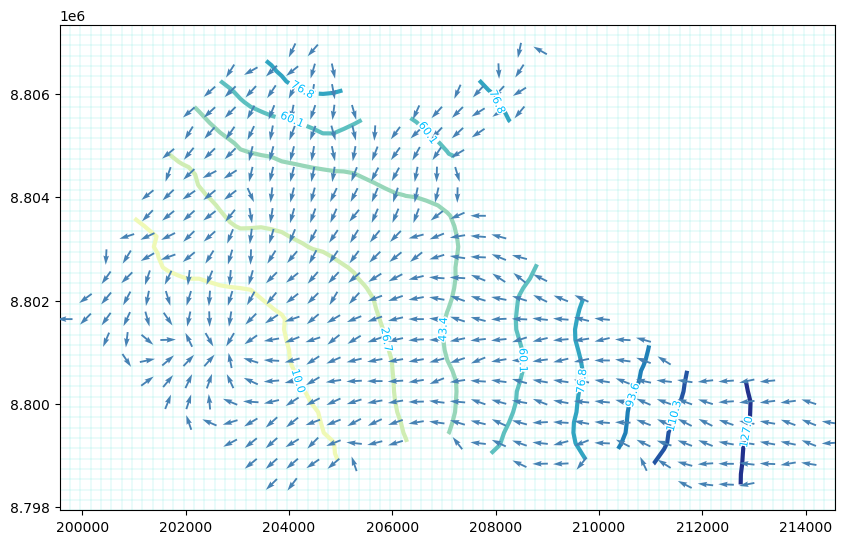
#representation with background image
backgroundImageDict = {
    'fig':'../Rst/BackgroundImage.png',
    'wrl':'../Rst/BackgroundImage.pgw'
}
fig = FlowVectorGenerator(gwf,
                          backgroundImageDict = backgroundImageDict,
                          layer=0,
                          plotGrid=False,
                          istep=2,
                          jstep=2,
                          scale=50)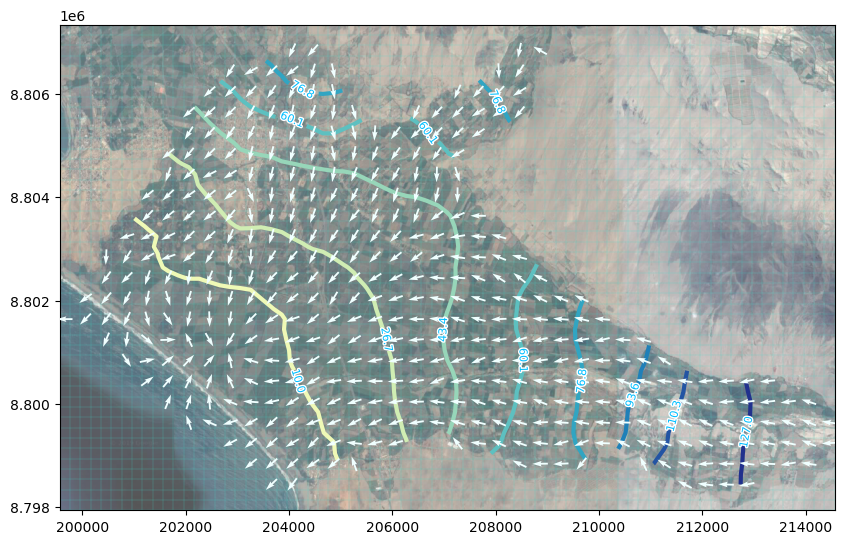
Datos de ingreso
Puede descargar los datos de ingreso desde este enlace.