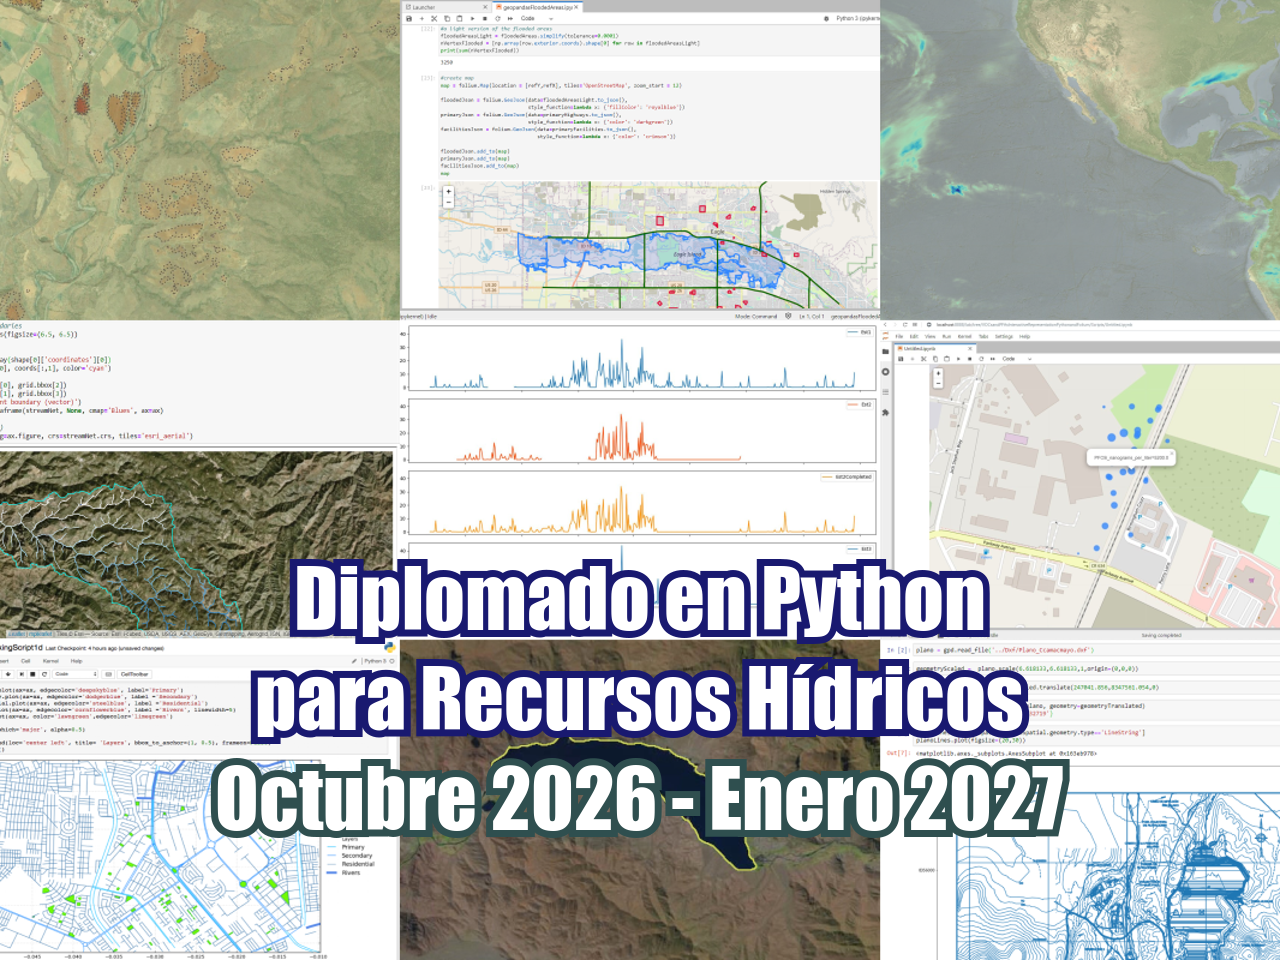
Bajo el concepto de “Python geoespacial aplicado” hemos desarrollado algunos procedimientos / tutoriales en Python de algunas tareas comunes de análisis espacial realizadas en software GIS de escritorio. El objetivo no es reinventar la rueda, sino explorar las herramientas y bibliotecas de Python actuales que pueden crear, analizar y representar datos espaciales vectoriales y ráster.
La interpolación triangular es uno de los varios tipos de interpolación disponibles tanto en Python como en software GIS, sin embargo, la ventaja de trabajar con Python es que la interpolación es una función en la que puede obtener el valor interpolado en un punto específico mientras que en el software GIS es necesario para crear un ráster para luego muestrear valores a partir del ráster (.. hasta donde sabemos).
Hemos creado un tutorial con un procedimiento completo en Python para importar puntos con elevación como atributo, crear una función de interpolación triangular y generar dos salidas espaciales: un ráster geoespacial interpolado en formato TIFF y un shapefile con atributo de elevación para otro conjunto de puntos. El tutorial utiliza varias bibliotecas de Python como Matplotlib, Rasterio, Geopandas, Scipy.
Tutorial
Existe un tutorial para la instalación de Rasterio disponible en este enlace.
Import required libraries
import numpy as np
import geopandas as gpd
import matplotlib.pyplot as plt
from matplotlib.tri import Triangulation, LinearTriInterpolator
import rasterio
Open shapefiles with elevation as attribute
points3d = gpd.read_file('../shps/points3d.shp')
print(points3d.head())
print(points3d.crs)
fid elev geometry
0 12.0 4121.0 POINT (623726.099 8359792.877)
1 13.0 4346.0 POINT (623622.358 8360574.771)
2 155.0 4159.0 POINT (623957.164 8359886.584)
3 156.0 4204.0 POINT (623717.372 8360034.787)
4 157.0 4298.0 POINT (623863.906 8360529.003)
epsg:32718Get numpy array with XYZ point data
totalPointsArray = np.zeros([points3d.shape[0],3])
#iteration over the geopandas dataframe
for index, point in points3d.iterrows():
    pointArray = np.array([point.geometry.coords.xy[0][0],point.geometry.coords.xy[1][0],point['elev']])
    totalPointsArray[index] = pointArray
totalPointsArray[:5,:]
array([[6.23726099e+05, 8.35979288e+06, 4.12100000e+03],
[6.23622358e+05, 8.36057477e+06, 4.34600000e+03],
[6.23957164e+05, 8.35988658e+06, 4.15900000e+03],
[6.23717372e+05, 8.36003479e+06, 4.20400000e+03],
[6.23863906e+05, 8.36052900e+06, 4.29800000e+03]])Required elements for the triangular interpolation
#triangulation function
triFn = Triangulation(totalPointsArray[:,0],totalPointsArray[:,1])
#linear triangule interpolator funtion
linTriFn = LinearTriInterpolator(triFn,totalPointsArray[:,2])
Interpolated raster generation
#define raster resolution in (m)
rasterRes = 2

xCoords = np.arange(totalPointsArray[:,0].min(), totalPointsArray[:,0].max()+rasterRes, rasterRes)
yCoords = np.arange(totalPointsArray[:,1].min(), totalPointsArray[:,1].max()+rasterRes, rasterRes)
zCoords = np.zeros([yCoords.shape[0],xCoords.shape[0]])

#loop among each cell in the raster extension
for indexX, x in np.ndenumerate(xCoords):
    for indexY, y in np.ndenumerate(yCoords):
        tempZ = linTriFn(x,y)
        #filtering masked values
        if tempZ == tempZ:
            zCoords[indexY,indexX]=tempZ
        else:
            zCoords[indexY,indexX]=np.nan

#preliminary representation of the interpolated values
plt.imshow(zCoords)
<matplotlib.image.AxesImage at 0x2bc3de53cd0>
#definition of the raster transform array
from rasterio.transform import Affine
transform = Affine.translation(xCoords[0] - rasterRes/2, yCoords[0] - rasterRes/2) * Affine.scale(rasterRes, rasterRes)
transform
Affine(2.0, 0.0, 623621.3579761666,
0.0, 2.0, 8359156.448053772)#get crs as wkt
from rasterio.crs import CRS
rasterCrs = CRS.from_epsg(32718)
rasterCrs.data{'init': 'epsg:32718'}#definition, register and close of interpolated raster
triInterpRaster = rasterio.open('../rst/triangleInterpolation.tif',
'w',
driver='GTiff',
height=zCoords.shape[0],
width=zCoords.shape[1],
count=1,
dtype=zCoords.dtype,
#crs='+proj=latlong',
crs={'init': 'epsg:32718'},
transform=transform,
)
triInterpRaster.write(zCoords,1)
triInterpRaster.close()Get interpolated values as shapefile
#open shapefile with points to interpolate
pointsToInterpolate = gpd.read_file('../shps/pointsToInterpolate.shp')
print(pointsToInterpolate.head())
FID geometry
0 115 POINT (623897.706 8359742.063)
1 115 POINT (623707.724 8359669.288)
2 115 POINT (623841.389 8359910.562)
3 115 POINT (623902.708 8359776.667)
4 115 POINT (623897.706 8359742.063)#interpolation over points
interpolatedPoints = pointsToInterpolate
interpolatedPoints['elev'] = ''
for index, point in interpolatedPoints.iterrows():
tempZ = linTriFn(point.geometry.coords.xy[0][0],point.geometry.coords.xy[1][0])
if tempZ == tempZ:
interpolatedPoints.loc[index,'elev'] = float(tempZ)
else:
interpolatedPoints.loc[index,'elev'] = np.nan#save as shapefile
interpolatedPoints.to_file('../shps/interpolatedPoints.shp')Spatial representation of input and output data
from rasterio.plot import show
src = rasterio.open("../rst/triangleInterpolation.tif")

fig, ax = plt.subplots(figsize=(24,16))
ax.set_xlim(624000,624600)
ax.set_ylim(8359400,8359800)
points3d.plot(ax=ax, marker='D',markersize=50, color='gold')
interpolatedPoints.plot(ax=ax, markersize=10, color='orangered')
show(src)
plt.show()